
How can I sign in to DSM/SRM with root privilege via SSH?
Purpose
This article guides you through how to sign in to DSM (DiskStation Manager) and SRM (Synology Router Manager) as root via SSH.
Warning:
- Enabling SSH service may bring security risks to your system. Please enable it only when necessary and avoid making changes to system configurations.
Contents
Resolution
Enable SSH service
-
Go to the terminal setting page on your Synology device:
- Synology NAS: DSM Control Panel > Terminal & SNMP > Terminal
- Synology Router: SRM Control Panel > Services > System Services > Terminal
- Synology NAS: DSM Control Panel > Terminal & SNMP > Terminal
- Tick Enable SSH service.
- Specify a port number for SSH connections and save the settings. To ensure system security, we suggest replacing the default port 22 with another one.1
Sign in from Windows 10, macOS, or Linux
For DSM 6.0 or later
-
Launch the terminal application on your computer:
-
Windows 10: Windows PowerShell
- macOS: Terminal.app
- Linux: Terminal
-
- Type the following command and press Enter:
|
Command |
Example |
|
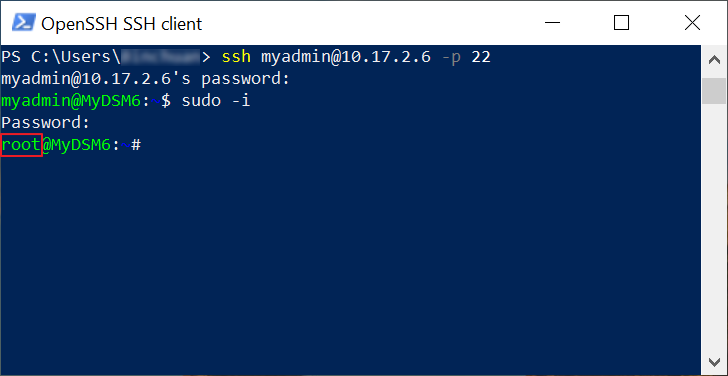
ssh DSM admin account@DSM IP address -p SSH port number |
ssh myadmin@10.17.2.6 -p 22 |
- Enter the password of your DSM’s administrator account.2
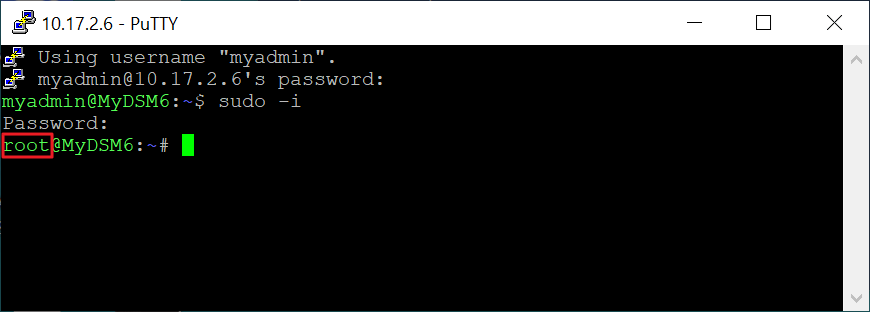
- Type sudo -i and press Enter.
- Enter the password of your DSM’s administrator account again, and press Enter.
- You are now signed in to your DSM with root privilege via SSH.
For DSM 5.2 or earlier/SRM
-
Launch the terminal application on your computer:
- Windows 10: Windows PowerShell
- macOS: Terminal.app
- Linux: Terminal
- Windows 10: Windows PowerShell
- Type the following command and press Enter:
|
Command |
Example |
|
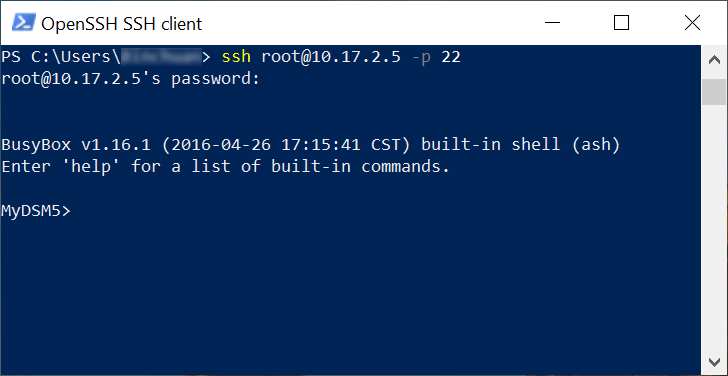
ssh root@DSM/SRM IP address -p SSH port number |
ssh root@10.17.2.5 -p 22 |
- Enter the password of the default account «admin».
- You are now signed in to DSM/SRM with root privilege via SSH.
Sign in from earlier versions of Windows
Earlier versions of Windows (e.g., Windows 7) require a third-party software to establish SSH connections to Synology devices. We take the software PuTTY as an example in the following steps.
For DSM 6.0 or later
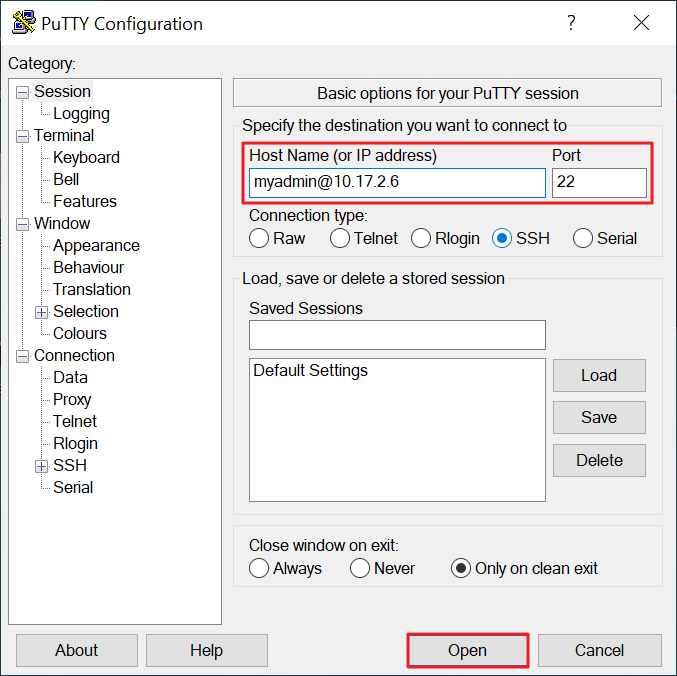
- Launch PuTTY on your computer.
- Enter «DSM admin account@DSM IP address» in the Host Name (or IP address) field, e.g., «myadmin@10.17.2.6».
- Enter the SSH port of your DSM in the Port field, e.g., 22.
- Click Open.
- Enter the password of your DSM’s administrator account.2
- Type sudo -i and press Enter.
- Enter the password of your DSM’s administrator account again, and press Enter.
- You are now signed in to your DSM with root privilege via SSH.
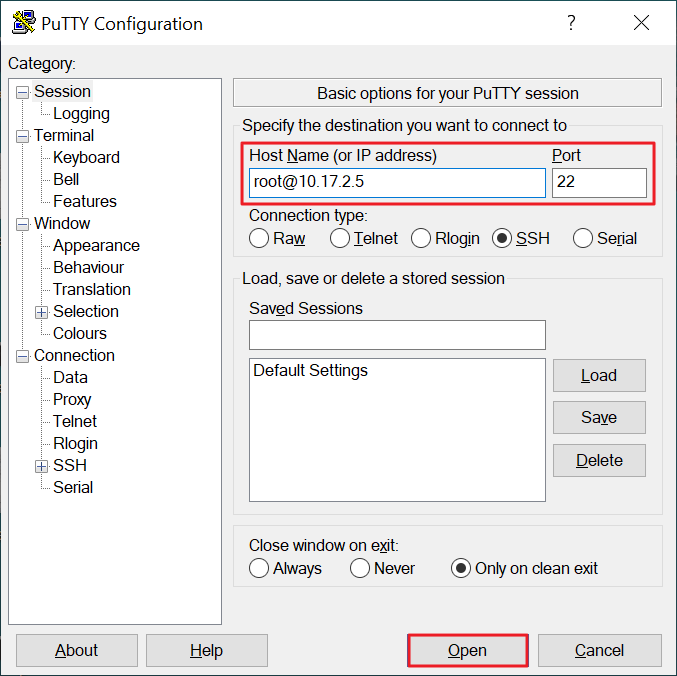
For DSM 5.2 or earlier/SRM
- Launch PuTTY on your computer.
- Enter «root@DSM/SRM IP address» in the Host Name (or IP address) field, e.g., «root@10.17.2.5».
- Enter the SSH port of your Synology device in the Port field, e.g., 22.
- Click Open.
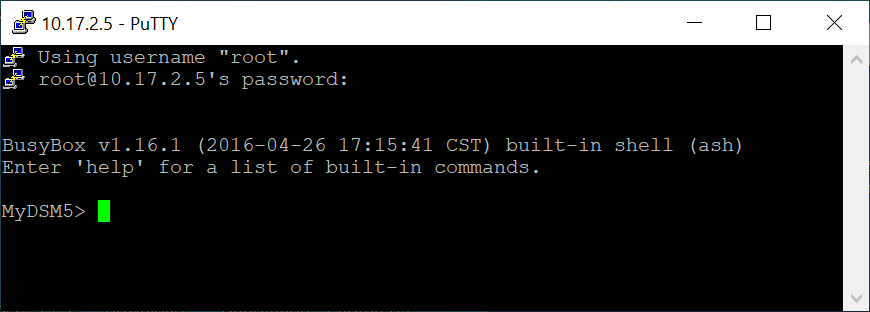
- Enter the password of the default account «admin».
- You are now signed in to your Synology device with root privilege via SSH.
Notes:
- To enhance the security of SSH connections, you can also avoid the ports listed in this article.
-
The following accounts are available for SSH logins with root privilege:
- DSM 6.0 and later: Users in the administrators group
- DSM 5.2 and earlier/SRM: root
- DSM 6.0 and later: Users in the administrators group